


HOW To draw a cherry with watercolor

Are you just starting your journey with watercolor painting? Then you're in the right place! With this guide, we will draw a stunning illustration of ripe cherries step by step.
To do this, you will need watercolor paper and paints, a brush, a regular pencil with an eraser, and clean water.
Let's get started!
To do this, you will need watercolor paper and paints, a brush, a regular pencil with an eraser, and clean water.
Let's get started!
STEP 1: SKETCH THE SILHOUETTE
Start by sketching. Use light lines to outline the silhouette of the cherries-to-be. Try not to press too hard on the paper. If you like to erase frequently, it's better to draw the cherries on a separate sheet and then transfer them using tracing paper or a lightbox.
Tip: Check the silhouette using negative space to make the drawing as accurate as possible. Negative space refers to the empty areas of the background that remain between objects. You can make the image more realistic by carefully observing and transferring its shape to your drawing.
Tip: Check the silhouette using negative space to make the drawing as accurate as possible. Negative space refers to the empty areas of the background that remain between objects. You can make the image more realistic by carefully observing and transferring its shape to your drawing.
STEP 2: ADD HIGHLIGHTS AND REFLECTIONS
As the second step, we will add details. Outline the highlights and reflections.
Highlights are the brightest areas on the illuminated side of the object. Glossy cherries, are very bright and have clear boundaries.
Reflections are the reflected light visible on the shadowed side of the object. They are not as bright as highlights but still have clear edges. Try to press lightly so that the pencil drawing doesn't interfere with the watercolor layer.
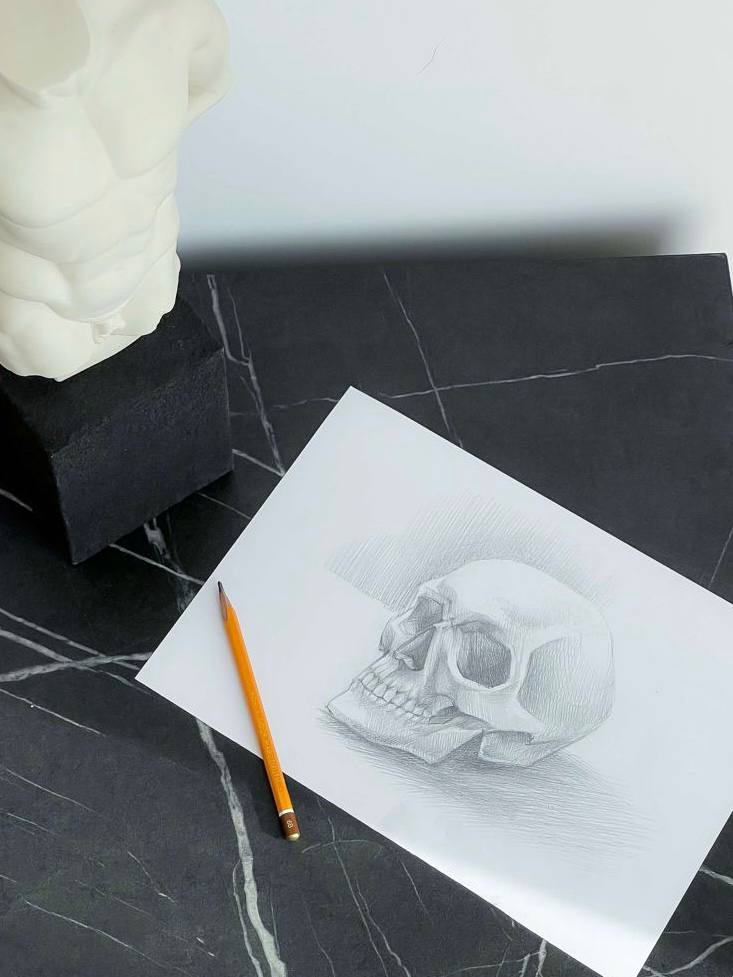
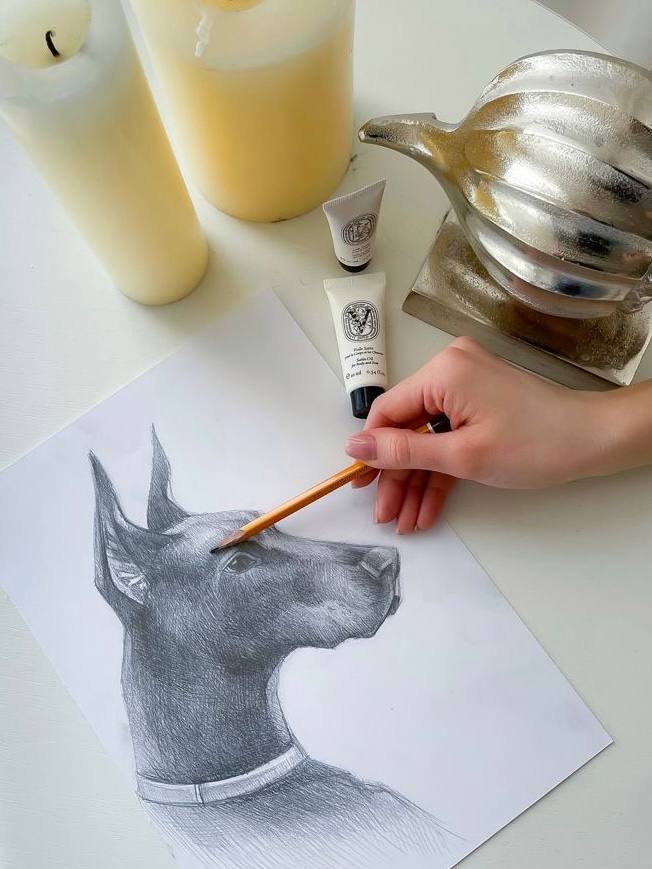
Learn to draw a variety of objects around you with the courses from Fantasy Room Online. In the "Drawing for Beginners" course, we teach drawing from scratch. Step by step, we improve our skills and learn to draw complex objects, master shading, create strokes, and convey shapes.
In the Watercolor Illustration course - Free Your Creativity, we create colorful artwork on various themes. From food illustrations to travel postcards, botanical drawings, and many other exciting activities! This course is suitable for absolute beginners in drawing.
In the Watercolor Illustration course - Free Your Creativity, we create colorful artwork on various themes. From food illustrations to travel postcards, botanical drawings, and many other exciting activities! This course is suitable for absolute beginners in drawing.
Learn to draw a variety of objects around you with the courses from Fantasy Room Online. In the Drawing for Beginners course, we teach drawing from scratch. Step by step, we improve our skills and learn to draw complex objects, master shading, create strokes, and convey shapes.
In the Watercolor Illustration course - Free Your Creativity, we create colorful artwork on various themes. From food illustrations to travel postcards, botanical drawings, and many other exciting activities! This course is suitable for absolute beginners in drawing.


Download program
[34+ Tutorials]
[30+ TUTORIALS]

[3 video classes]
SECTION 10.
ANIMAL SKETCH
ANIMAL SKETCH

[11 video classes]
SECTION 6. MEN'S FIGURET
SECTION 9.
DRAWING HUMAN
DRAWING HUMAN
VIEW DETAILS


[2 video classes]
SECTION 7. ABOUT THE PROFESSION OF FASHION ILLUSTRATOR
[5 video classes]
SECTION 5. MIXED TECHNIQUES
VIEW DETAILS

VIEW DETAILS

Online Course
Online Course
STEP 3: PAINTING THE FIRST LAYER
To make the illustration more contrasted and realistic, we will execute the painting in multiple stages:
For the first layer, use a light ultramarine blue. The basic cool color will help convey the cool tones of the highlights and reflections and make the red tones more noble.
Moisten the area you're going to paint with clean water and use a medium-sized brush. This will make the paint lay down much more smoothly.
Make sure to thoroughly dry each layer before moving on to the next one.
- Basic outlining with a cool color.
- Filling in the light areas and blending the boundaries of the highlights.
- Filling in the shadows and blending the reflections.
- Adding texture with fine brushstrokes.
For the first layer, use a light ultramarine blue. The basic cool color will help convey the cool tones of the highlights and reflections and make the red tones more noble.
Moisten the area you're going to paint with clean water and use a medium-sized brush. This will make the paint lay down much more smoothly.
Make sure to thoroughly dry each layer before moving on to the next one.
STEP 4: FILL IN THE LIGHT
The second step is to fill in the light areas. Pay attention to the light near the highlight.
Usually, this is the purest and brightest shade without any foreign color tints. It's called the base color, and we'll need it for filling in the light. Fill the entire space between the highlights and reflections with the base color and let it dry.
To convey the bright and ripe shade of the cherry in the illustration, a color like "Light Red" was used. For the sunny color of young leaves, a color like "Medium Yellow" was used. However, you can always choose your own shade.
Highlights may appear very sharp. To make them look natural, you need to blend the paints. However, be careful not to overdo it – a little bit of the light paper should remain in the center. Reflections are always slightly darker than highlights, so you can not only blend their edges but also slightly tone them with a weak pigment solution until the surface is fully covered.
For blending, use a small brush. Moisten the brush with clean water and blot it on a paper towel to remove excess moisture. With this semi-dry brush, gently blend the edge to create a gradient of half-tone. In painting, a gradient refers to a smooth transition from light to dark.
Tip:
When the paper gets wet, it starts to buckle, so be careful! Don't rub the wet paper for too long; it's better to let it dry and then rework and smooth the paint again.
STEP 5: DRAW THE SHADOWS
The next step is to draw the shadows. Use a cooler shade of red, such as "Crimson Red." Fill the shadow areas with a soft brush and blend their edges just like you did with the highlights. For the reflections, use a well-diluted pigment to enhance the effect of a cool gleam.
Pay attention to the stems. Even on thin branches, you should create a volume.
Pay attention to the stems. Even on thin branches, you should create a volume.
STEP 6: ADD THE REFLECTIONS
To complete the drawing, take the smallest brush and add dots of shadows and highlights. Intensify the darkest areas and add brighter spots to the light areas. If the brushstrokes are small and overlapping, you won't need any additional blending, and a light graininess will convey the texture of the cherry skin.
After finishing, you can remove any excess pencil marks along the edges of the cherries. However, this can be done no earlier than 2 hours after completing the work. The paper needs to dry thoroughly.
After finishing, you can remove any excess pencil marks along the edges of the cherries. However, this can be done no earlier than 2 hours after completing the work. The paper needs to dry thoroughly.

LET’S SUMMARIZE:
As you can see, drawing a cherry with watercolors is not that difficult! The key is to follow the steps, fill in the colors systematically, consider the shape of the object, properly highlight the brightest area, and add the reflection!
As you can see, drawing a cherry with watercolors is not that difficult! The key is to follow the steps, fill in the colors systematically, consider the shape of the object, properly highlight the brightest area, and add the reflection!


© Fantasy Room 2014–2025
service@fantasyroom.online
All rights reserved