


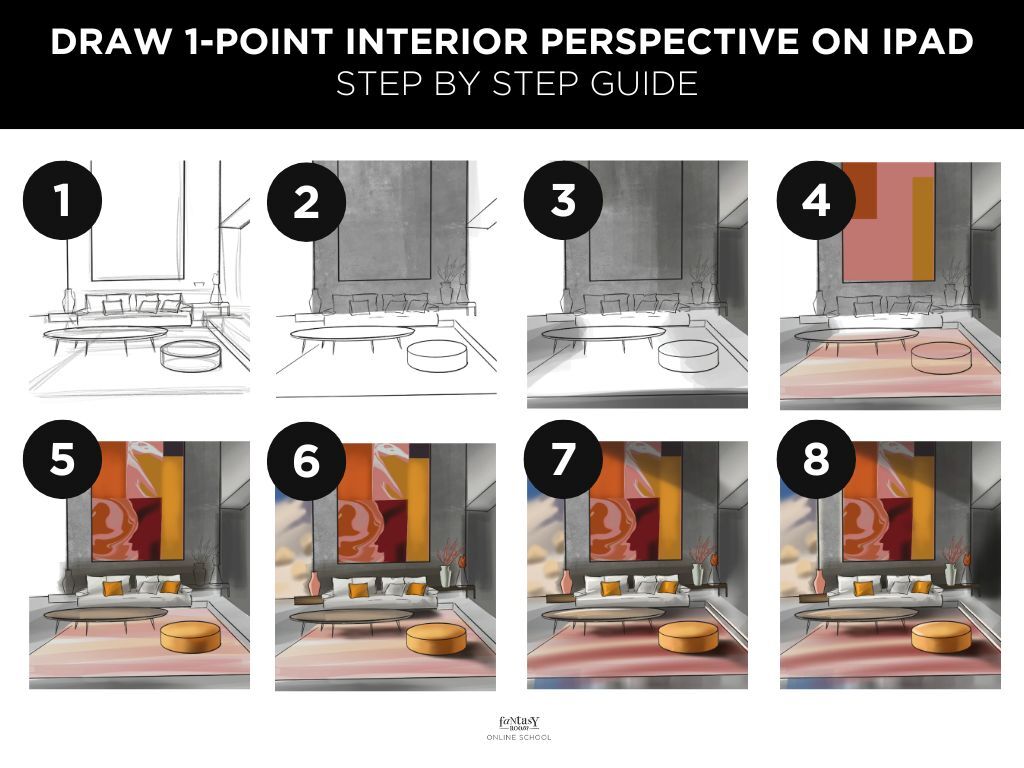
In this blog post, we'll be sketching the interior of a home in 1-point perspective, providing you with a detailed, step-by-step guide. This will be particularly beneficial if you're new to sketching, as by the end of this article, you'll gain confidence in drawing perspective and grasp all the essential fundamentals. Let's dive in and get started!
For someone new to perspective drawing, there may be numerous lingering questions. For instance, what do grid lines signify? How can one maintain proper proportions? And how can drawings appear more lifelike?
Given that perspective drawing closely mirrors our human visual perception of the world, it's crucial, particularly for architects and designers, to convey their ideas in perspective. This ensures that clients and other stakeholders can readily comprehend them.
In this blog post, we'll walk you through my step-by-step drawing process.
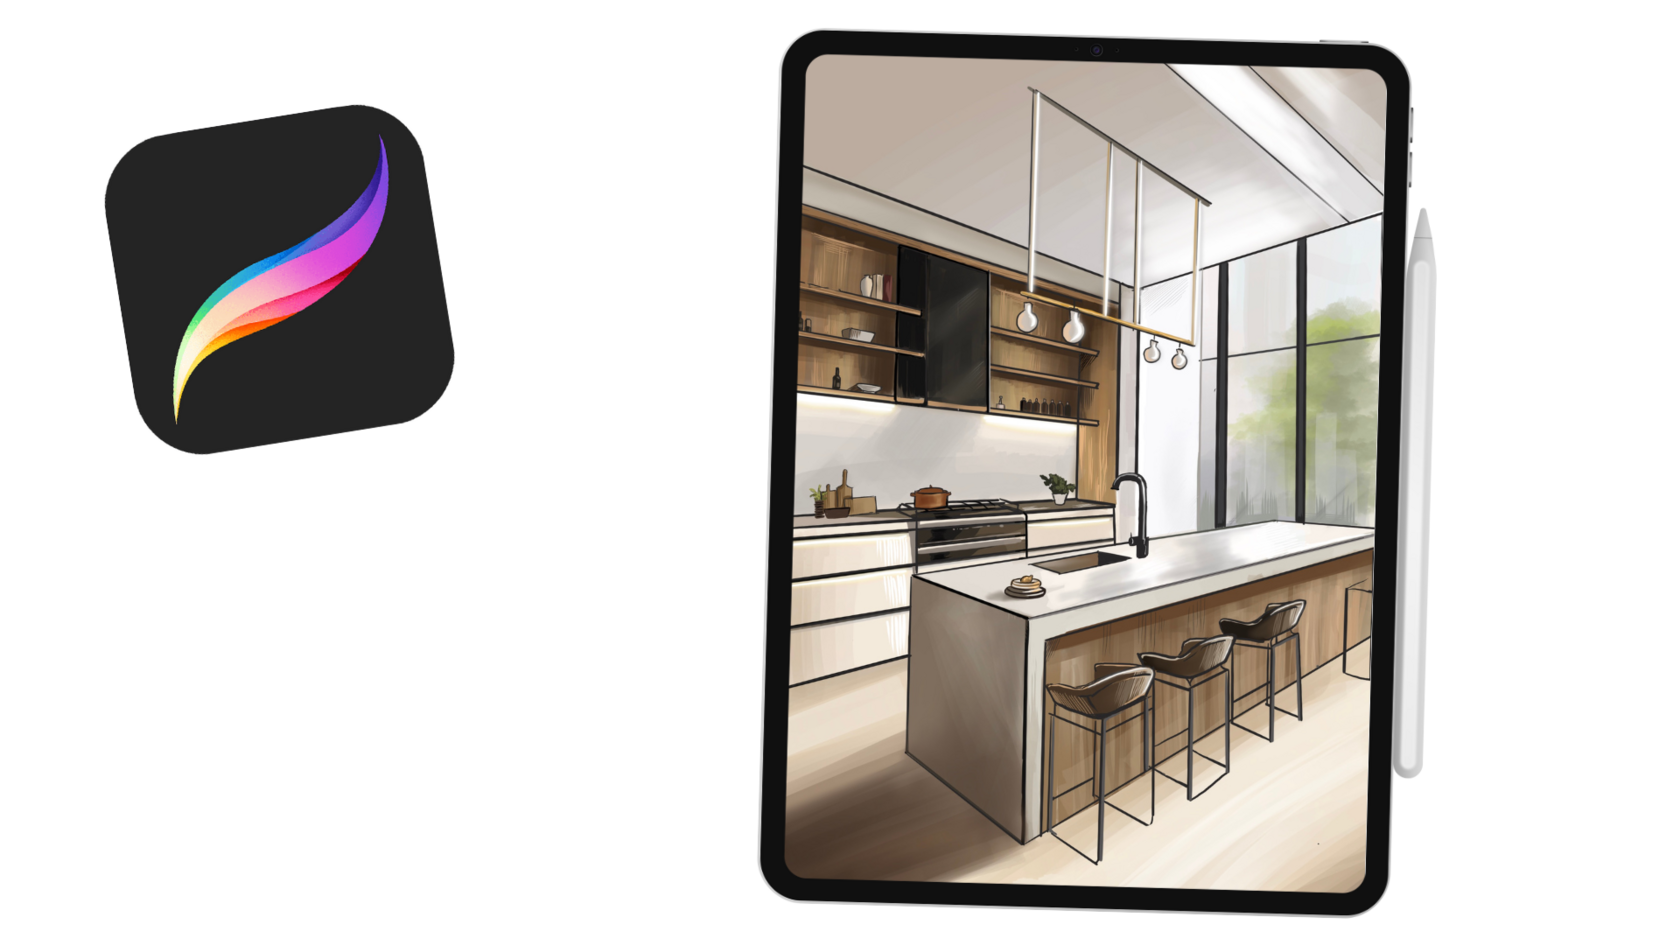
Why Procreate is a cool tool to draw quick sketches of interior design?
Procreate offers a range of features that make it an excellent tool for drawing quick sketches of interior design.
Procreate's user-friendly interface allows for seamless navigation, making it easy for designers to quickly access tools and functions.
With Procreate, users have access to a vast library of customizable brushes, including brushes that mimic traditional media like pencils, markers, and paint. This versatility allows designers to achieve a wide variety of textures and effects in their sketches.
Procreate's layer functionality enables designers to work non-destructively, allowing them to easily make adjustments to their sketches without affecting the underlying layers. This makes it simple to experiment with different design ideas and iterate quickly.
Procreate features a time-lapse recording option, which allows designers to record the creation process of their sketches. This can be useful for sharing design progress with clients or colleagues, or for creating tutorials to share on social media.
Discover the world of interior design sketching in Procreate with our exclusive online course available at Fantasy Room Online. This comprehensive course is designed to teach you everything you need to know about creating stunning interior design sketches directly on your iPad using Procreate.
Step 1: Establishing the Structure
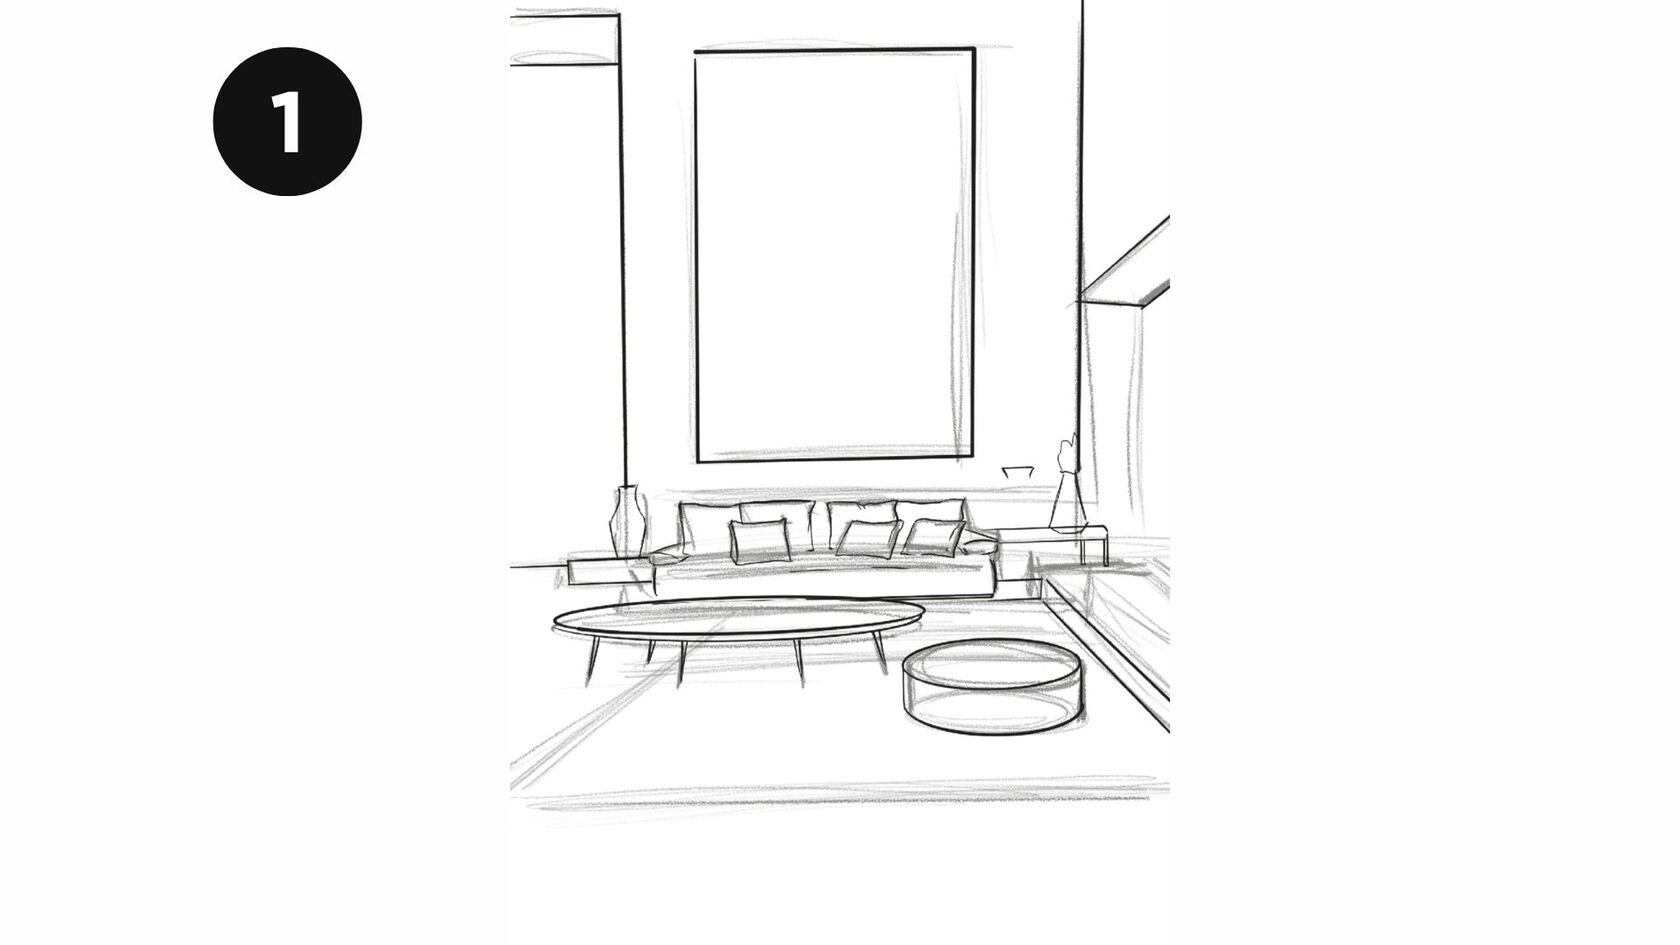
The first step is to open your drawing app (such as Procreate) and create a new canvas. Choose the dimensions that suit your project and ensure that the canvas is set to a landscape orientation.
Begin by sketching the Horizon Line, a horizontal line representing eye-level, across your page. Next, mark a cross at the midpoint of this line to denote the main Vanishing Point. Then, outline a large rectangle to signify the back wall of the room. To delineate the remaining four walls, simply extend straight lines from the vanishing point, passing through each corner of the wall. If you're using Procreate, accomplishing this is effortless with just a tap. Utilize the perspective grid tool and a light grey pencil brush to swiftly establish your composition's structure.
One of the significant benefits of digital drawing on an iPad is the availability of drawing assistance. This feature ensures that your lines remain aligned with the perspective grid you've created, guaranteeing precision in your drawings at all times.
Step 2: Adding Wall Texture
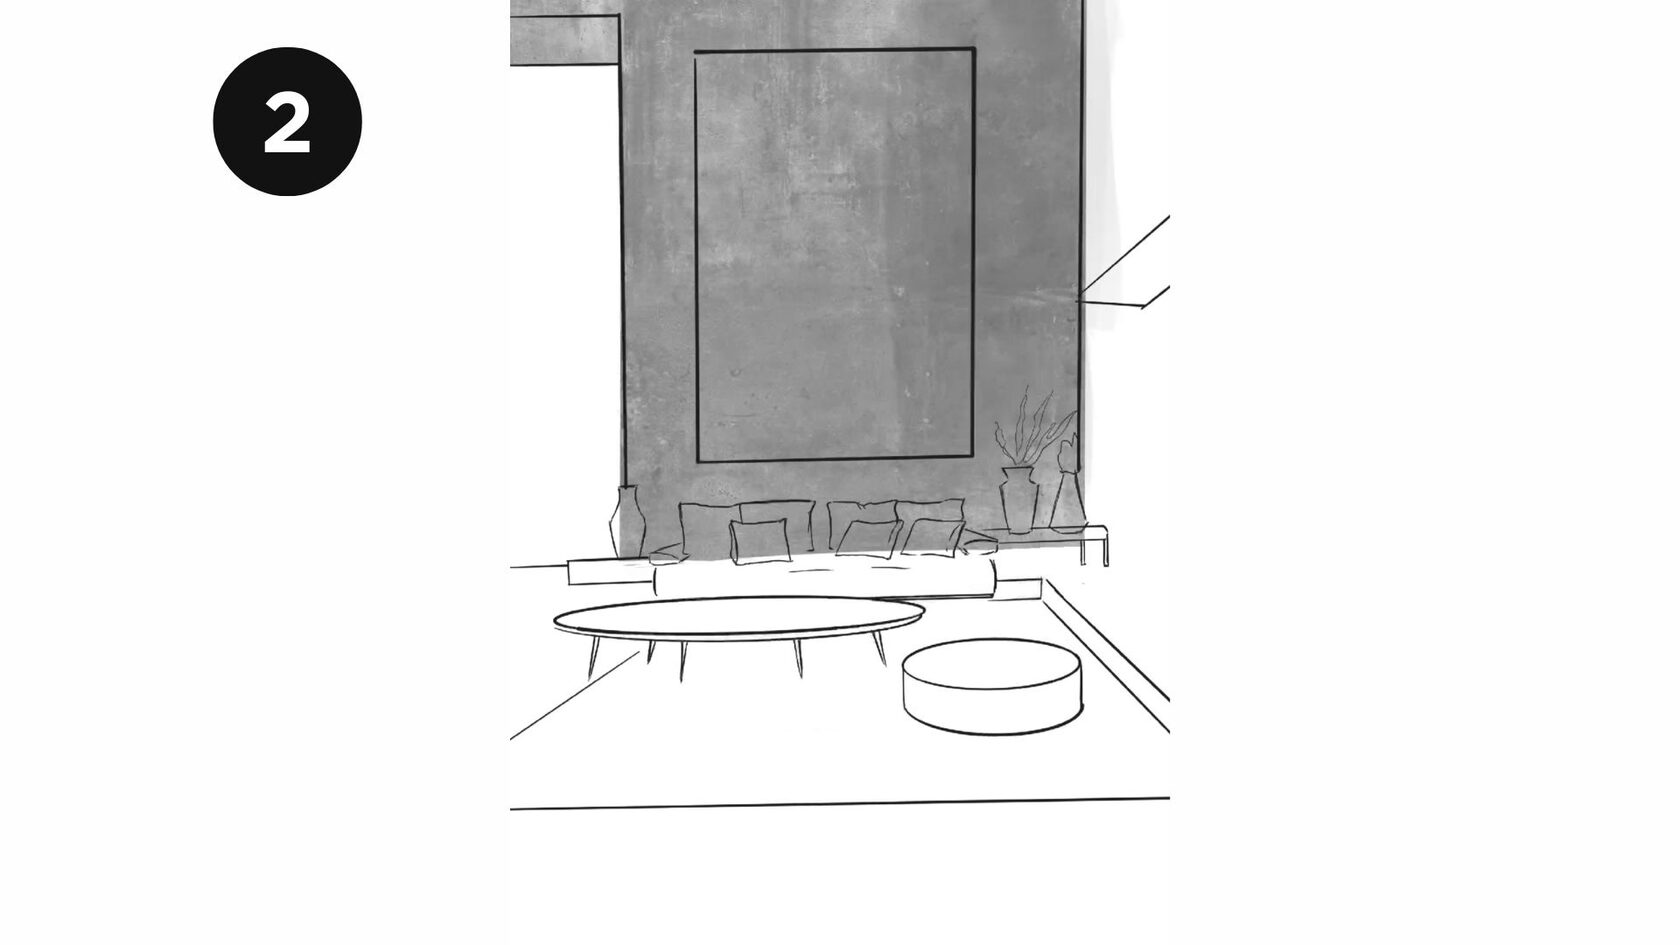
To depict the texture of the wall, create a new layer and apply an image texture of your preference to represent the back wall. Place this new layer beneath the initial pencil sketch layer. Adjust the transparency level as needed to achieve the desired effect.
Step 3: Add Depth to the Room
From the vanishing point, draw lines extending outward to create the sides of the room. These lines will converge at the vanishing point, giving the illusion of depth. It's crucial to ensure that each new element you add to your drawing is on a separate layer. This allows you to make quick changes and adjustments as needed without affecting the rest of your composition. By organizing your drawing into layers, you can maintain flexibility and control throughout the creative process.

Embark on a journey to master the art of interior sketching with us! Whether you prefer traditional manual techniques or the versatility of Procreate on the iPad, our expert guidance will lead you through the process with precision and style.
Discover the principles of perspective drawing, from one-point to two-point variations, and learn to infuse your sketches with depth and dimension. Dive into floor planning as we explore drawing various types of rooms, including living rooms, bedrooms, kitchens, bathrooms, hallways, and dining rooms. Join us and unleash your creativity as you hone your interior sketching skills to perfection!
Discover the principles of perspective drawing, from one-point to two-point variations, and learn to infuse your sketches with depth and dimension. Dive into floor planning as we explore drawing various types of rooms, including living rooms, bedrooms, kitchens, bathrooms, hallways, and dining rooms. Join us and unleash your creativity as you hone your interior sketching skills to perfection!
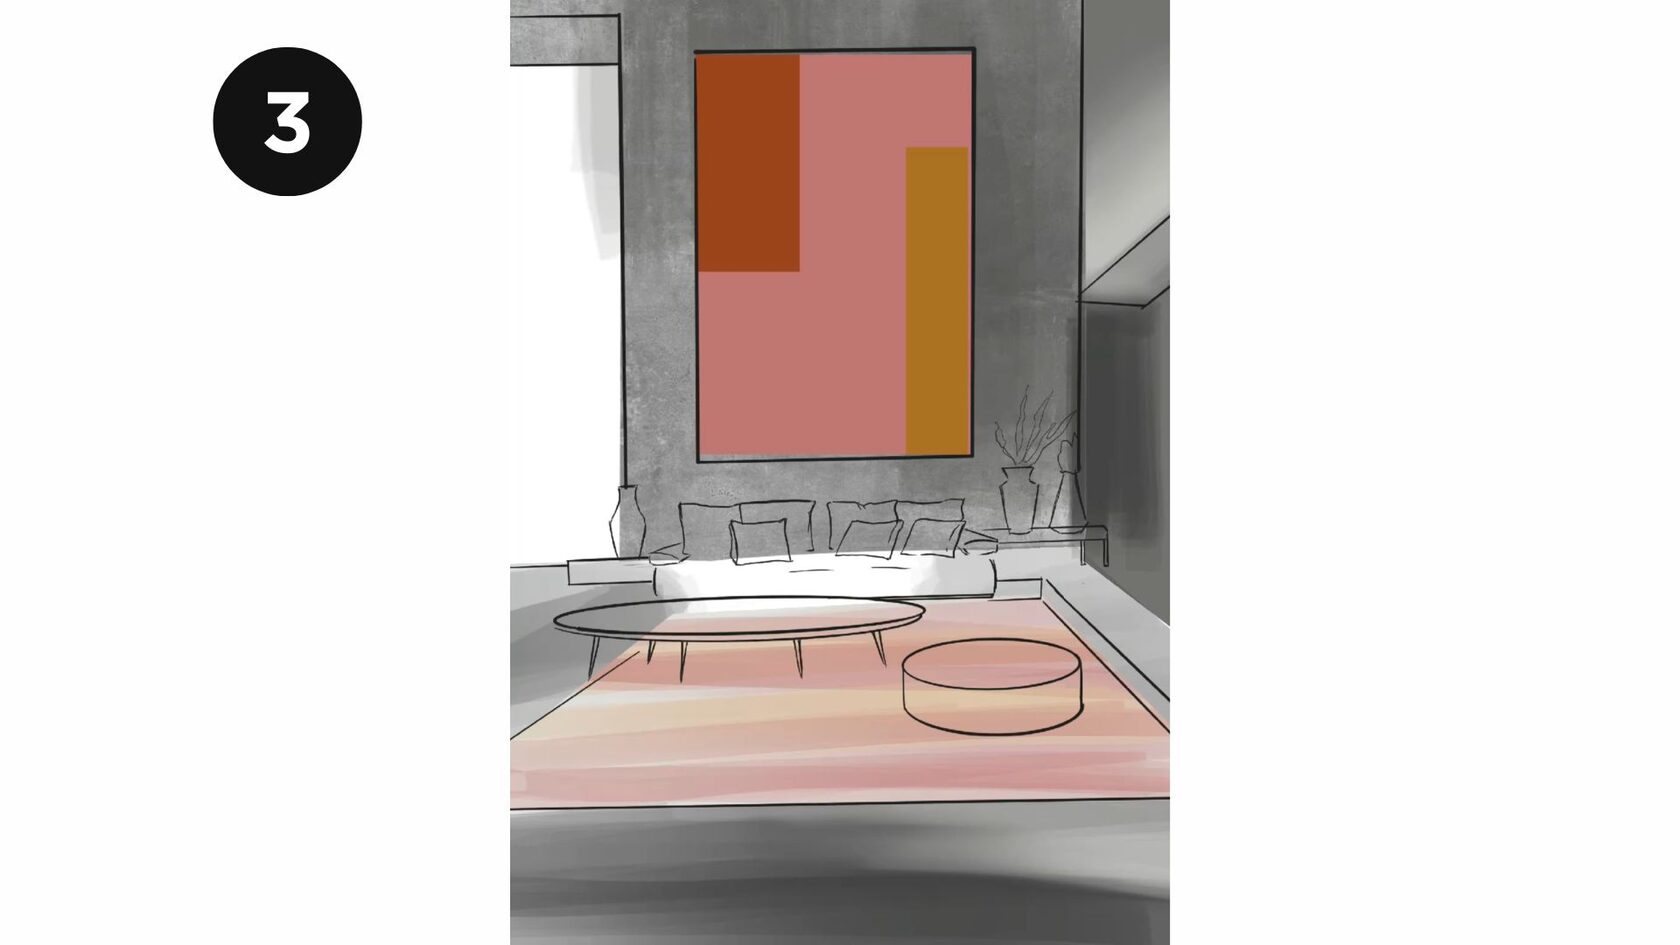
Step 4: Coloring and Texturing
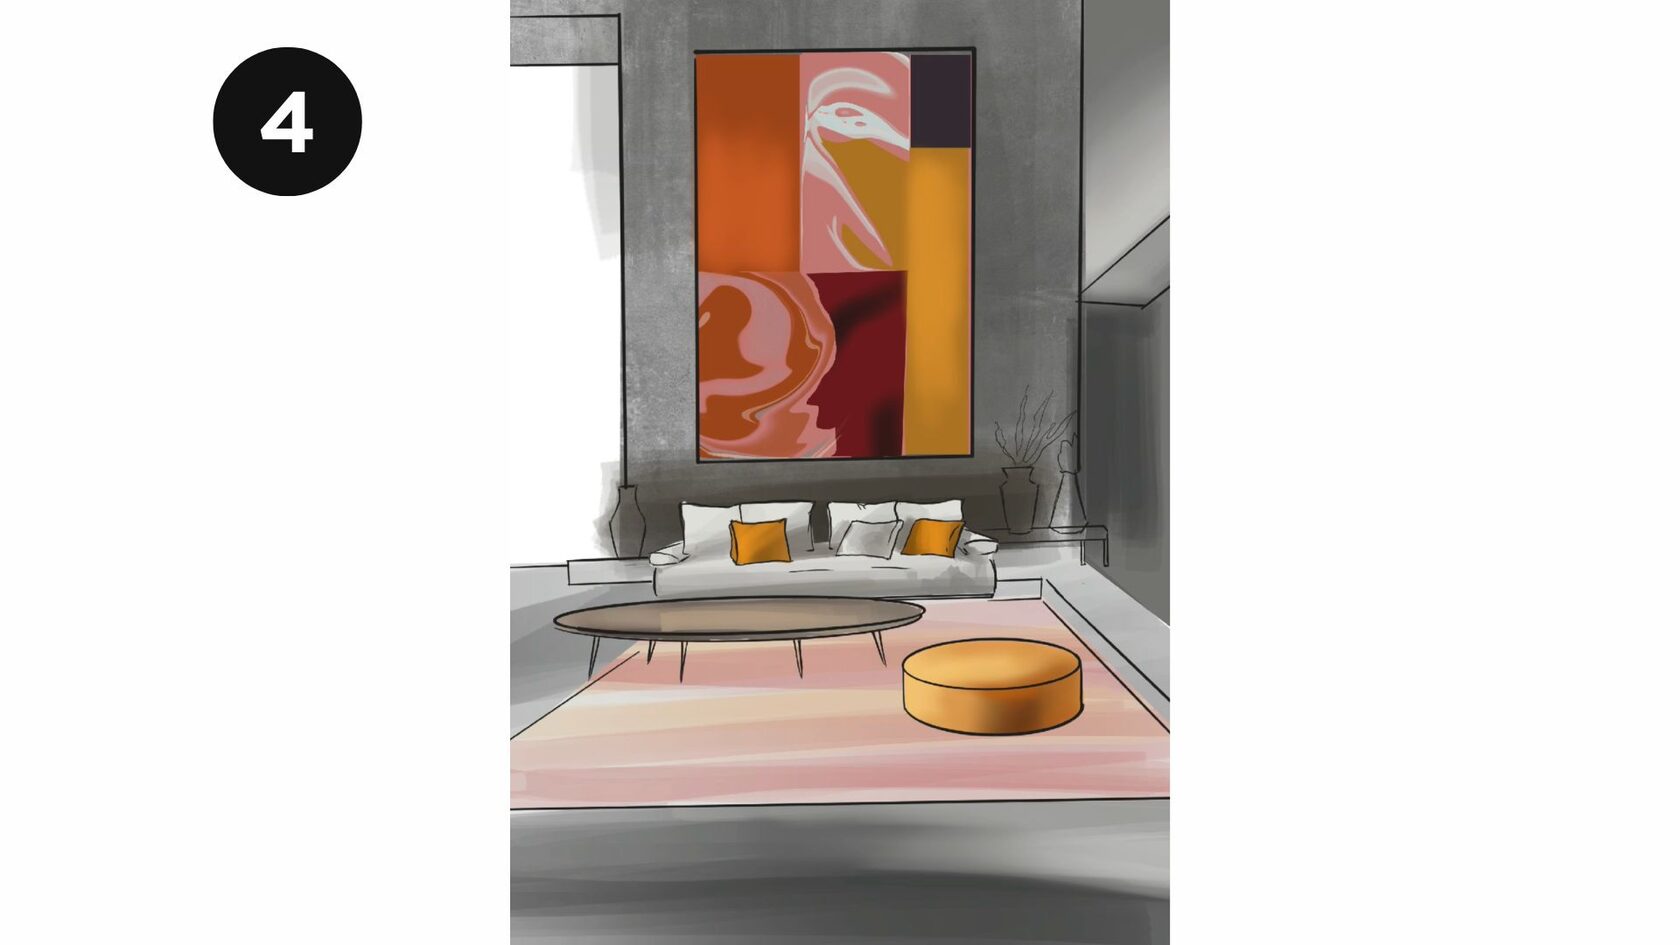
Now, let's bring your interior to life by adding colors and materials! Create a new layer and utilize the smart fill tool to block out solid white areas on elements like the ceiling and sofa. This technique enhances the visibility of key furniture outlines, even without the perspective grid.
Step 5: Detail the Interior
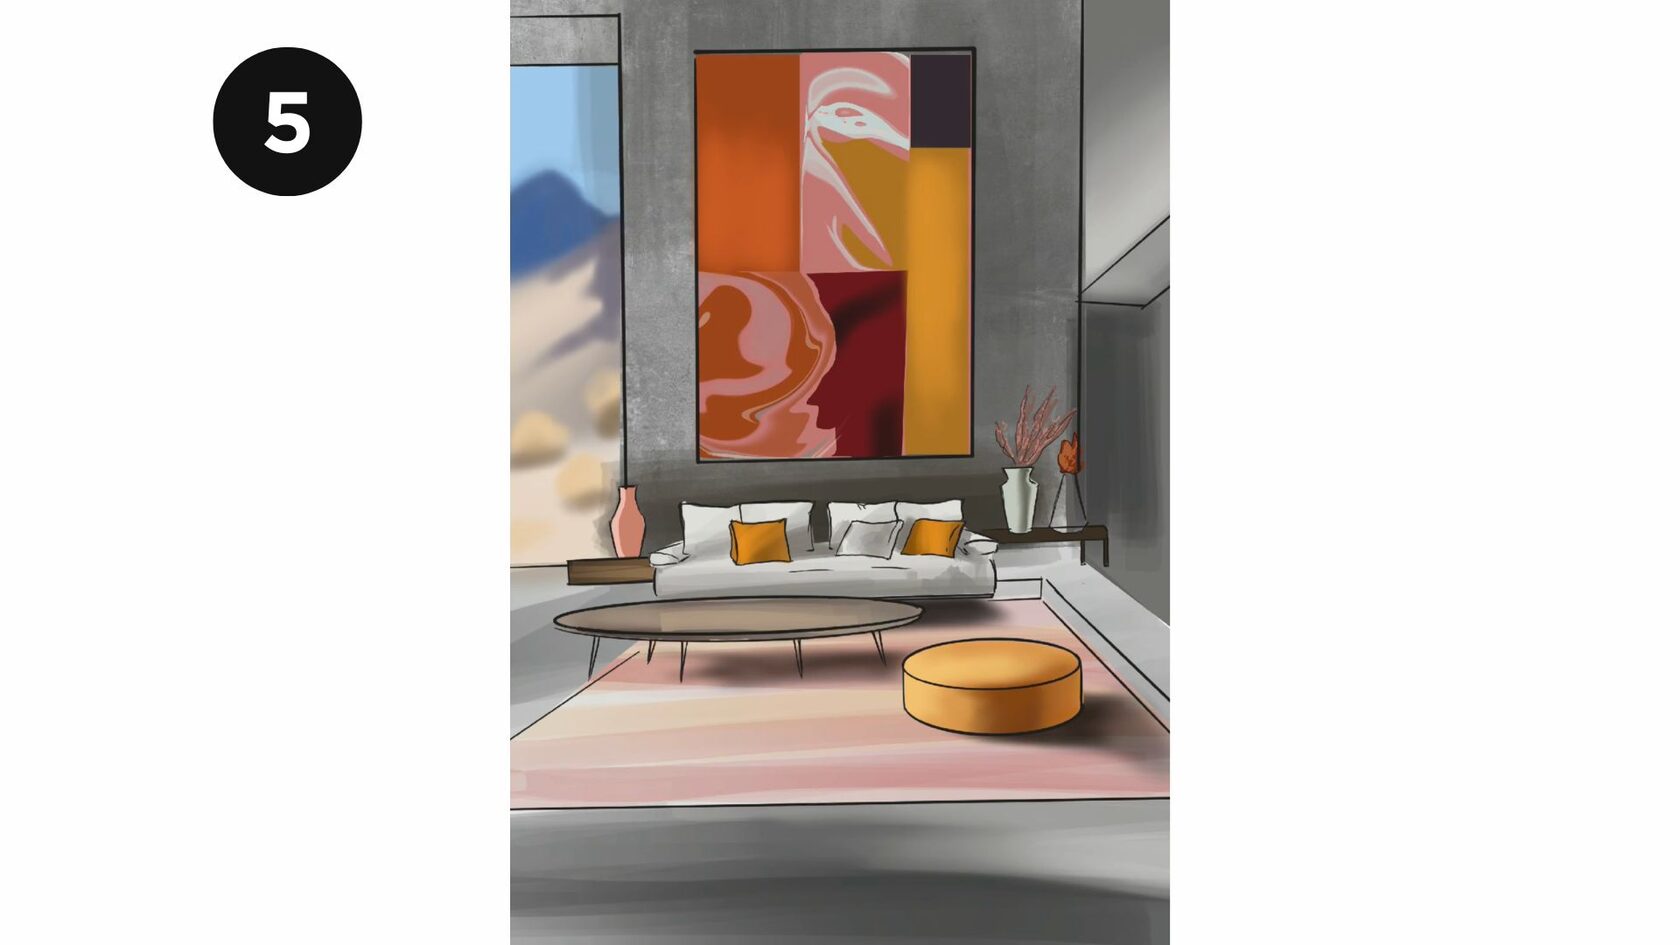
With the basic structure in place, add details to your interior space. Sketch in furniture, windows, doors, and other elements to bring your scene to life. Remember to consider how these elements align with the perspective lines.
Step 6: Add Texture and Shadows

Create additional layers in your drawing app to add texture to surfaces like walls and floors. Experiment with different brush styles and opacities to achieve the desired effect. Don't forget to add shadows to enhance the realism of your drawing.
Step 7: Final Touches and Adjustments

Once you're satisfied with your drawing, take some time to make any final adjustments. This might include refining details, adjusting colors, or tweaking the composition. Step back and view your drawing as a whole to ensure everything looks cohesive.
Conclusion
Drawing a 1-point interior perspective on your iPad may seem daunting at first, but with practice and patience, you'll soon master this essential skill. By following these easy steps and experimenting with different techniques, you'll be well on your way to creating stunning interior scenes that captivate viewers. So fire up your iPad, open your favorite drawing app, and let your imagination run wild!


