


HOW TO DRAW A CUP WITH SIMPLE PENCILS. 8 STEPS
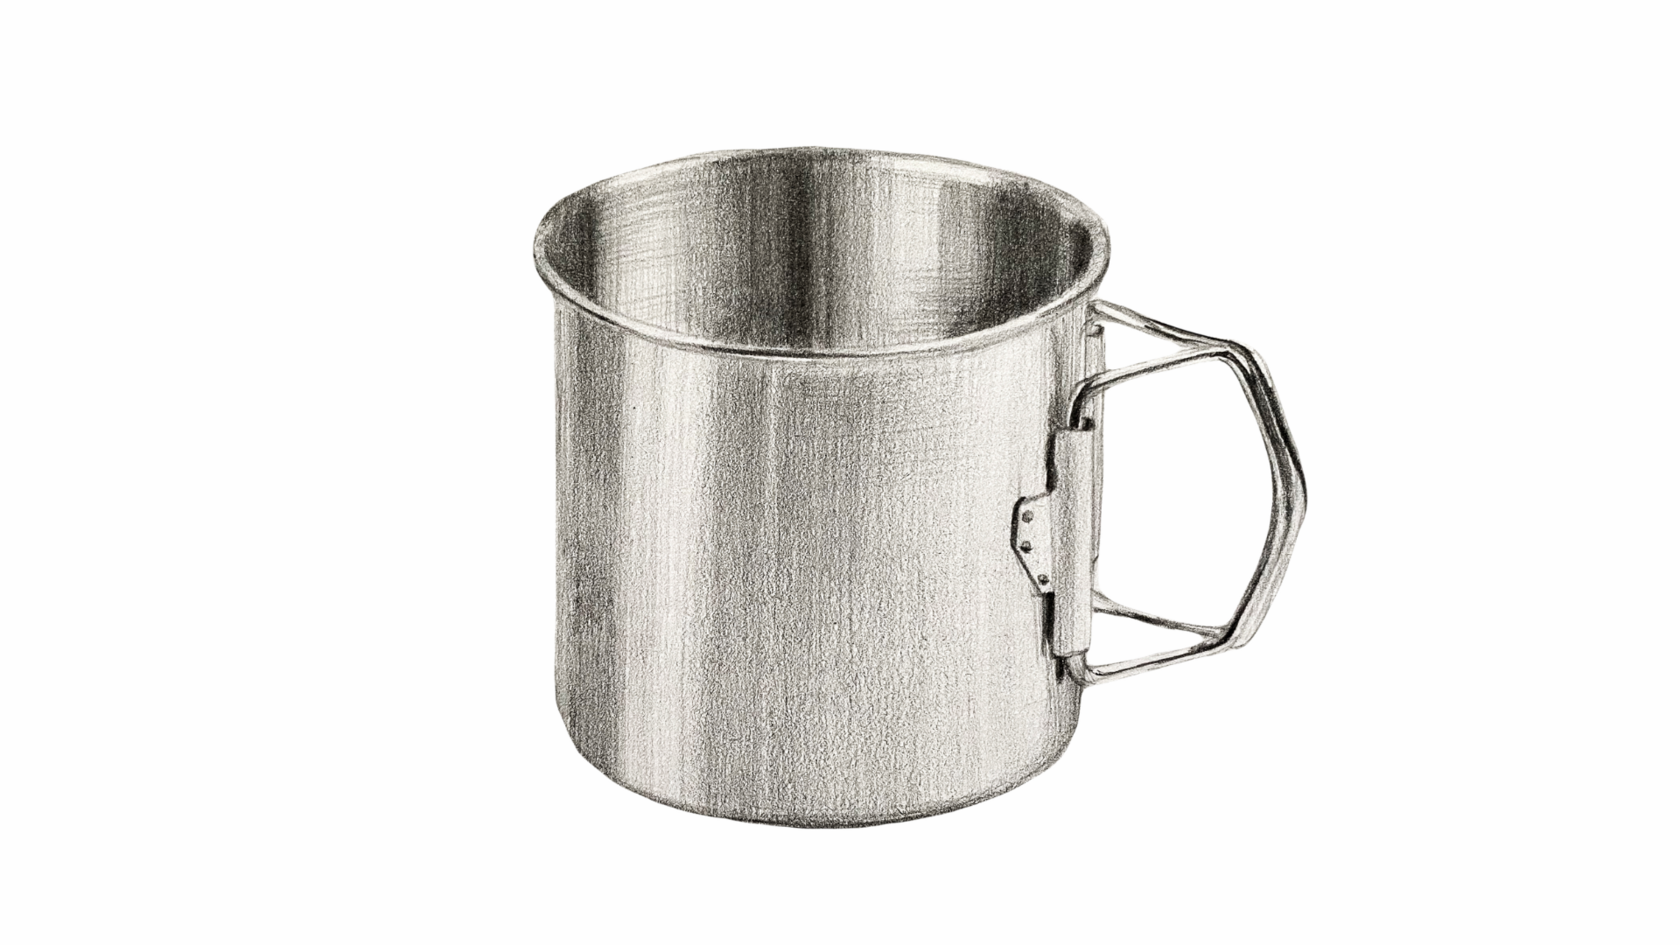
Drawing is an art accessible to everyone. Even if you don't think you're very talented at this, try following this simple step-by-step tutorial to draw a cup with a simple pencil. Ultimately, you can create a beautiful design that will please your eyes and can be a wonderful gift for your loved ones.
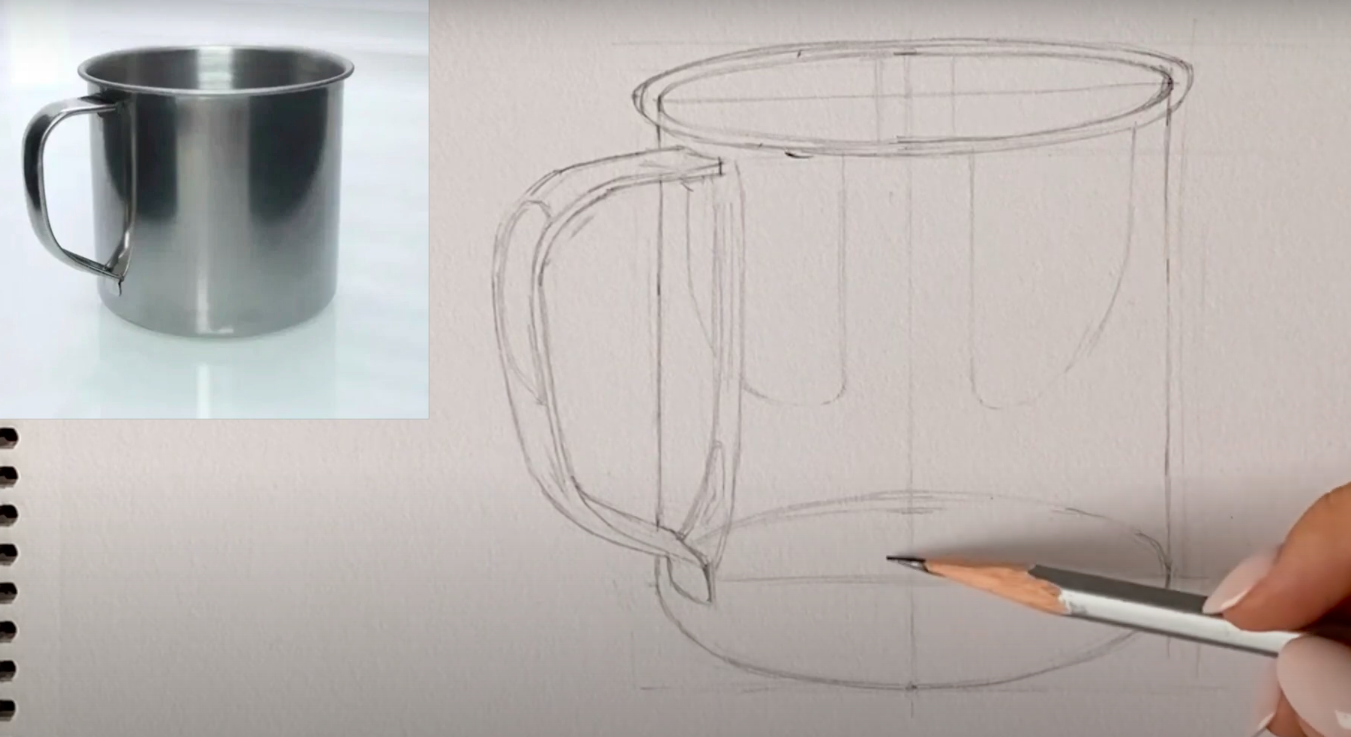
1 step. Drawing the design of our cup
Before you start drawing, decide on the shape of the cup. Start by drawing its base - a simple cylinder or oval. This will be the basic shape on which you will build further drawing. Study the shape and proportions of the cup carefully to ensure your design starts off correctly.
Before you start drawing, decide on the shape of the cup. Start by drawing its base - a simple cylinder or oval. This will be the basic shape on which you will build further drawing. Study the shape and proportions of the cup carefully to ensure your design starts off correctly.
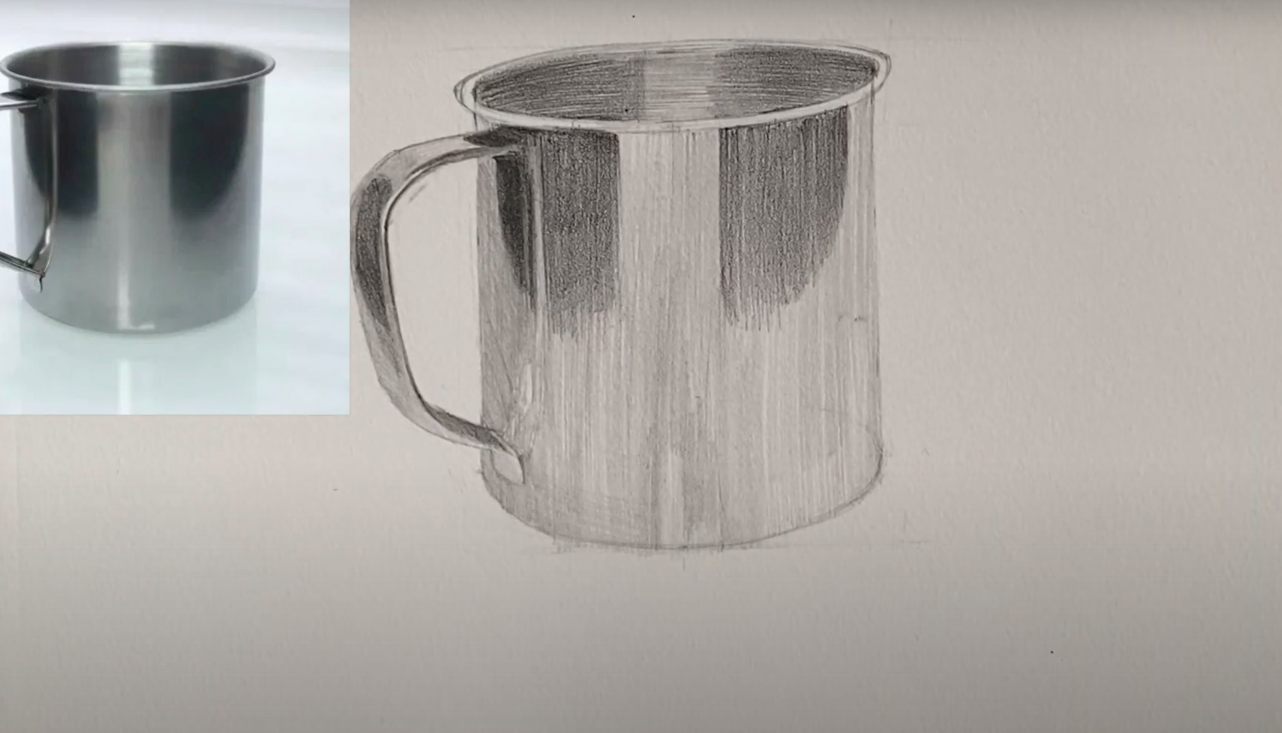
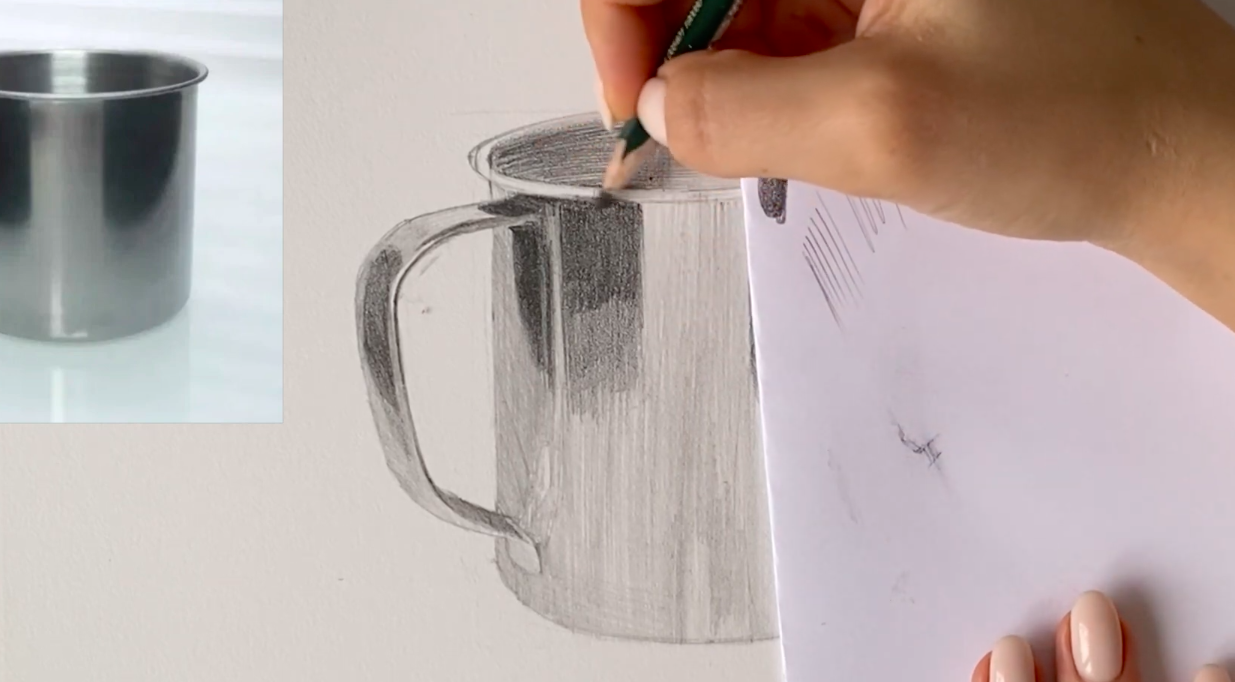
Step 2. We begin shading and filling the cup
Start adding details using light, soft strokes. Remember that the light is coming from above, so the top of the cup will be lighter and the bottom will be darker. Add strokes and fill gradually, paying attention to the shape and volume of the cup
3. Mark the shadows
Determine the light source and add shadows accordingly. Typically the shadows will be located on the bottom of the cup and on the back side of the light source. This will help create a sense of volume and realism in your drawing.
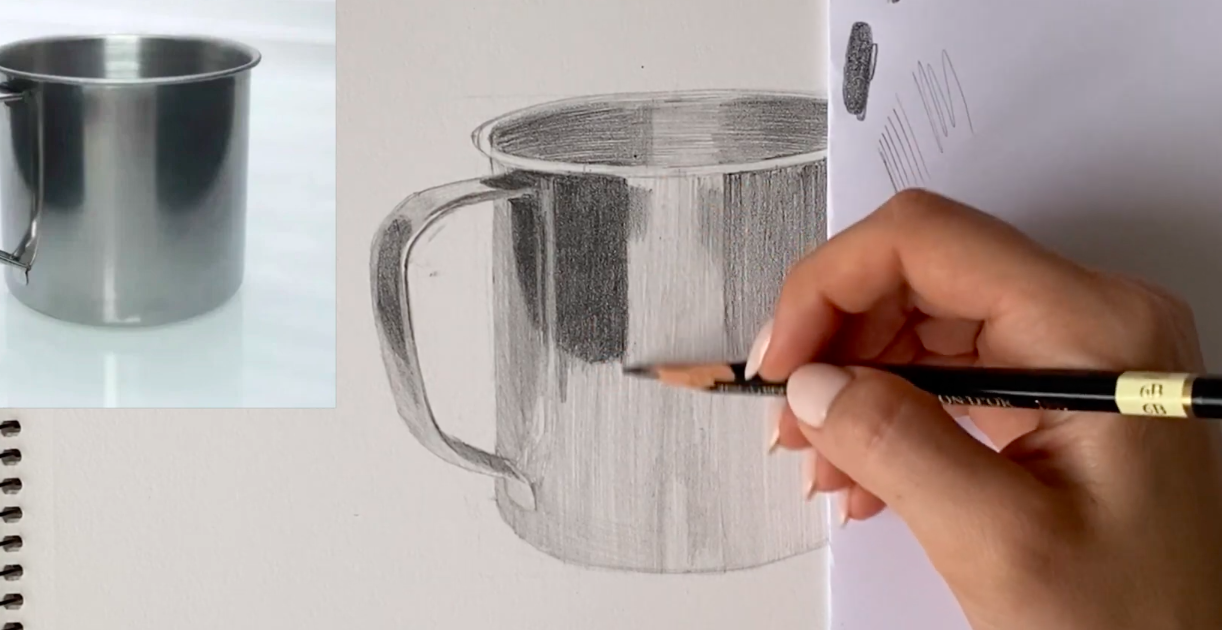
Step 4 Add dark and make smooth transitions
To give your drawing depth, use darker pencil shades where the shadows are more intense. Create smooth transitions between light and dark areas to give the cup a three-dimensional look. This will help make your work more realistic and appealing to the eye.
Learn the basics of drawing for beginners in our course, where we'll help you unleash your creative potential. Gain confidence in using pencils, learn the basic principles of composition and perspective, and learn how to create impressive works of art. Join today and start your creative journey!
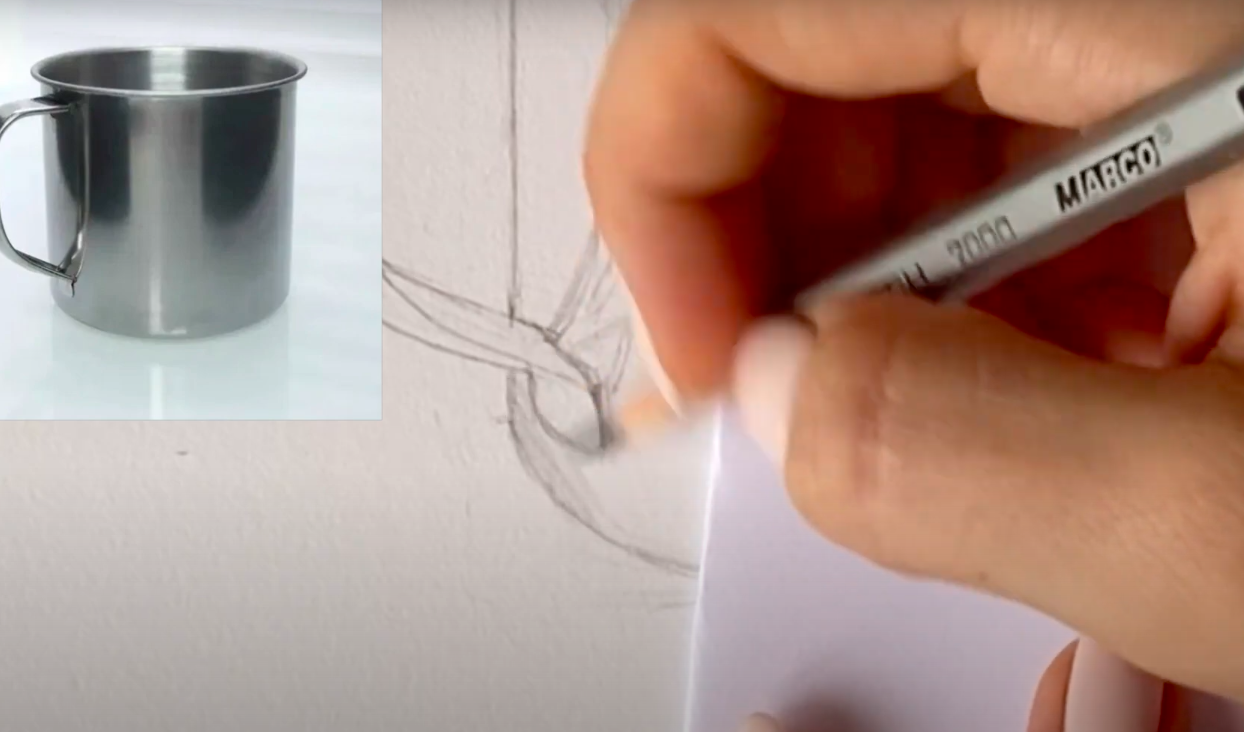
Step 5 Drawing the details
Add details such as the ear of the cup or patterns on its surface. Pay attention to proportions and try to capture realistic textures. This will give your drawing more character and interest.

Step 6 Drawing a shadow from a cup
Add shadow, darker strokes that will be located under the cup. Remember that the shadow should be soft and natural. This will help create a sense of depth and realism in your drawing.

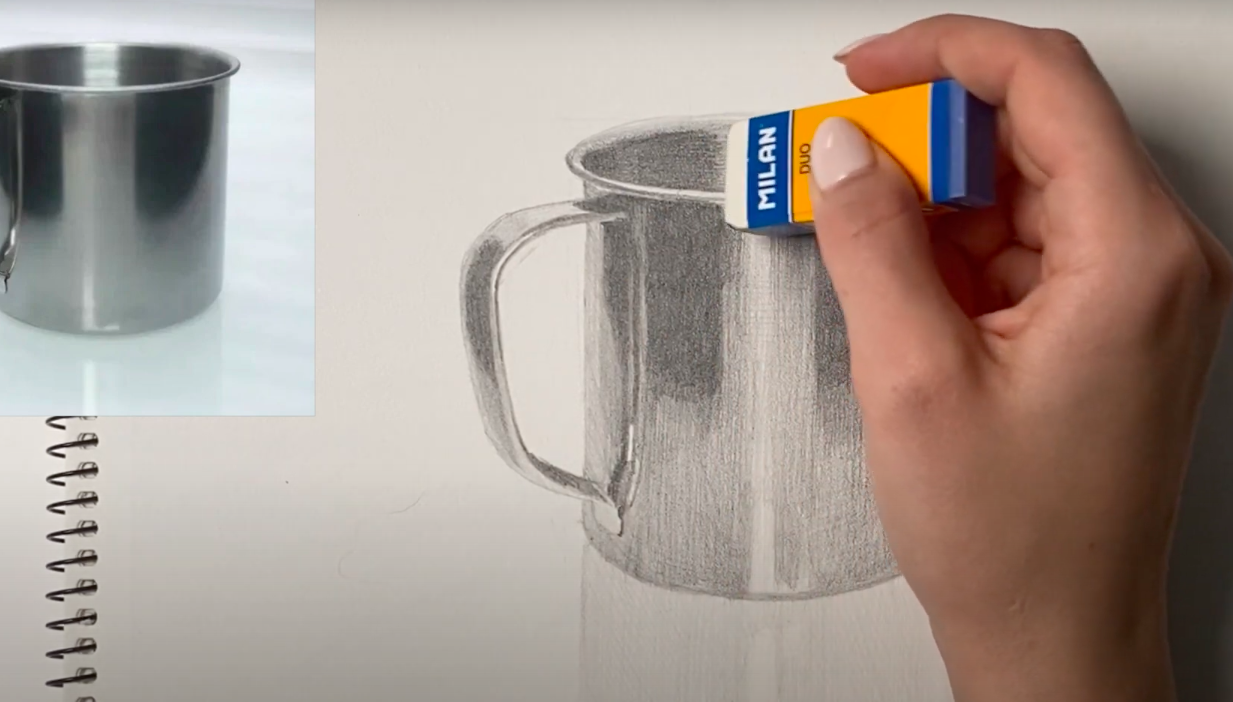
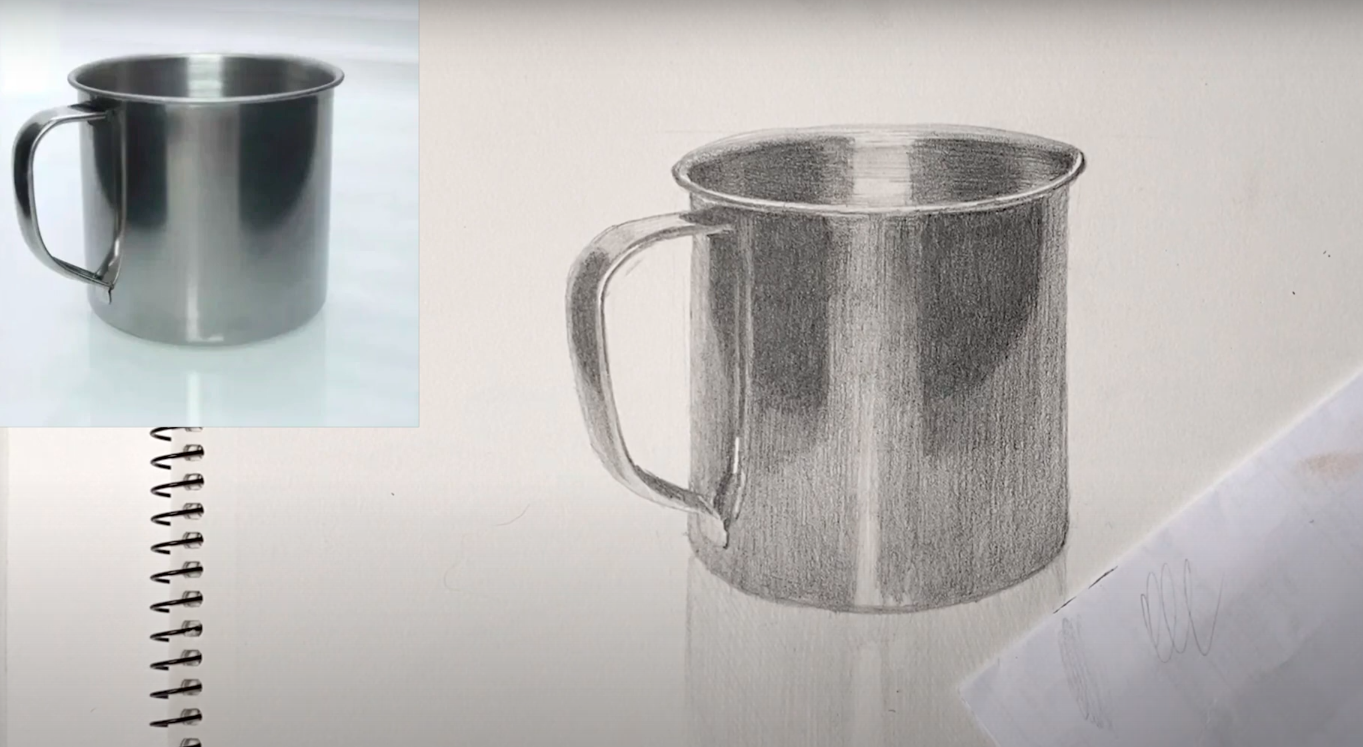
Step 7 Whitening the right places
Use an eraser to create highlights, such as highlights on the surface of a cup or reflections of light. This will add brightness and realism to your drawing, making it more attractive and lively.
Step 8 We complete our work
Evaluate your drawing and, if necessary, add finishing touches. Make sure you achieve the desired effect and the cup looks realistic. Remember that practice makes master, so don't stop there and keep drawing!
Conclusion
Drawing a cup with a simple pencil is a fun process that can not only bring you pleasure, but also improve your drawing skills. By following the steps in this tutorial, you will be able to create a beautiful and realistic cup drawing that will delight the eye and inspire further creative endeavors. Remember that practice is the key to drawing, so don't be afraid to experiment, learn from your mistakes, and enjoy the creative process.


